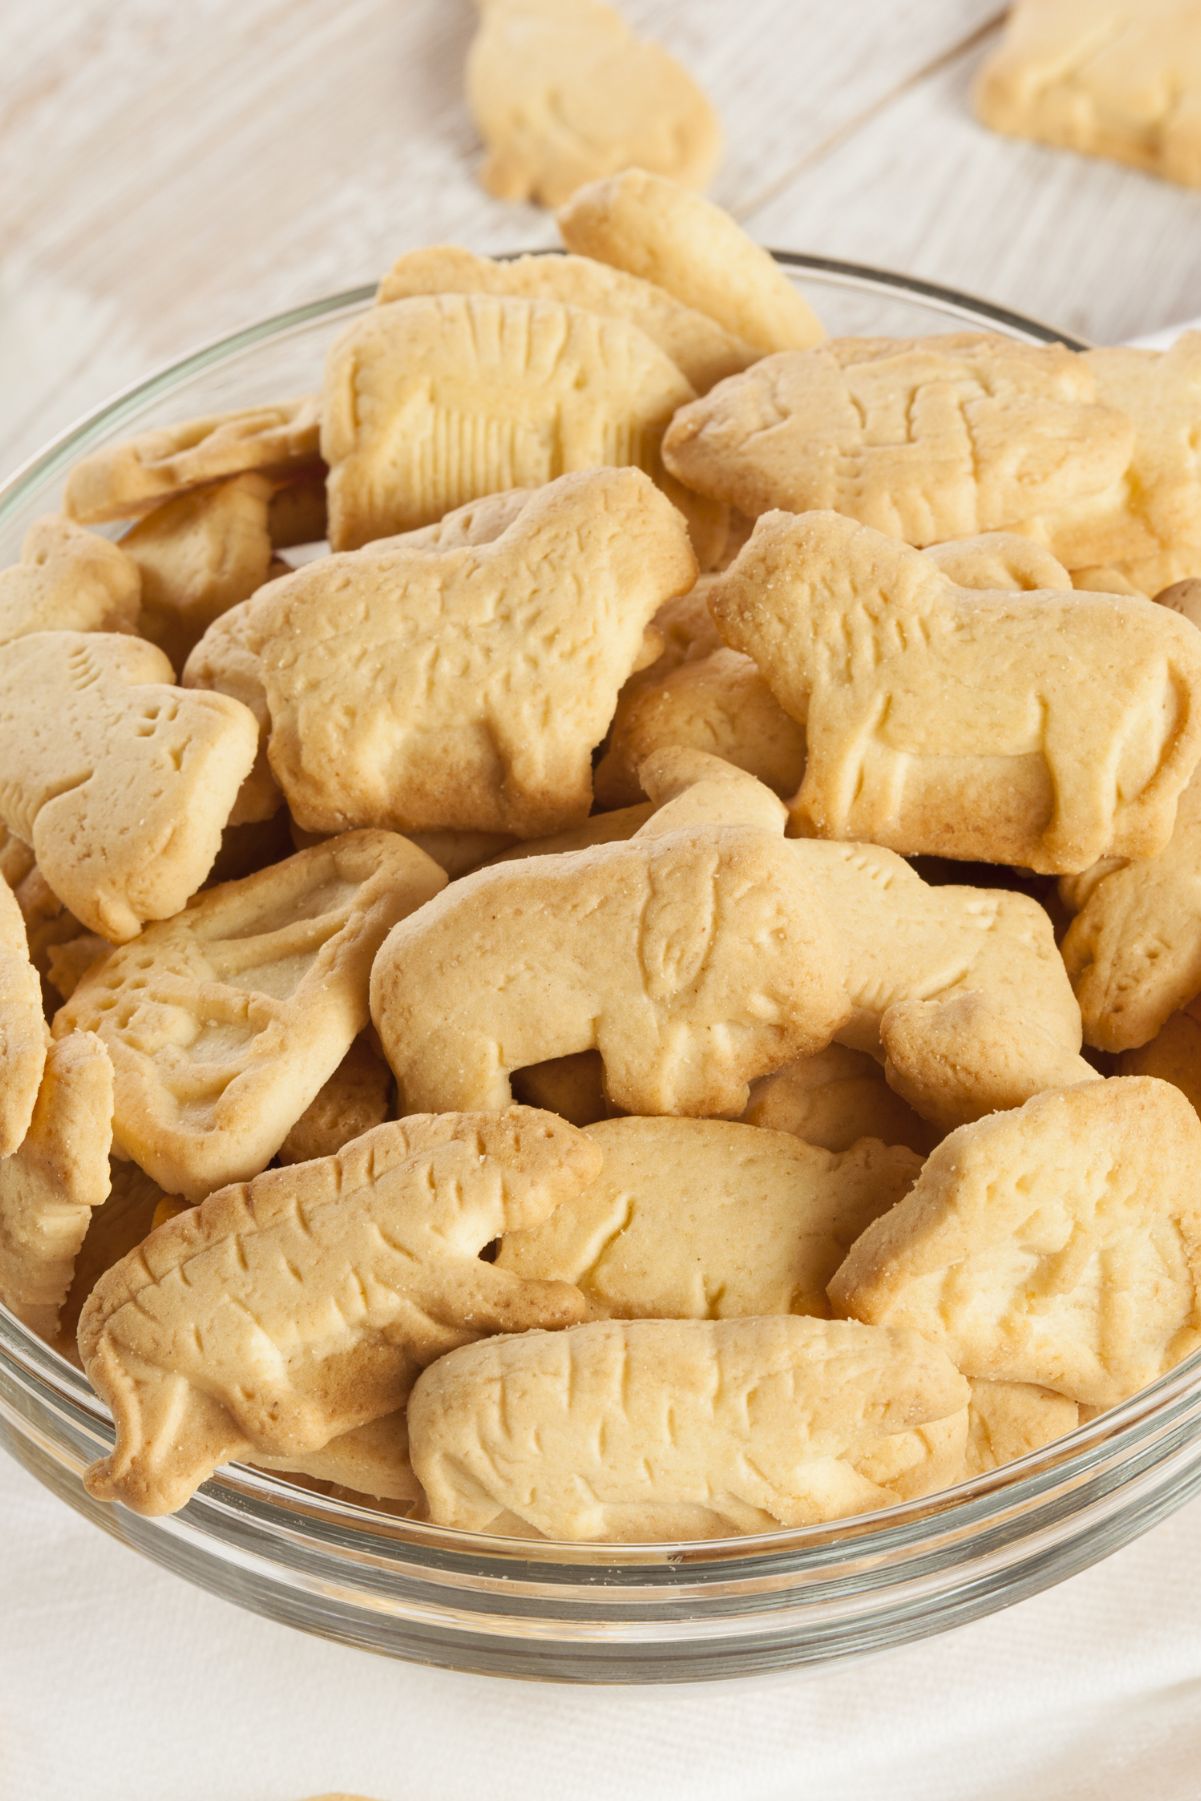
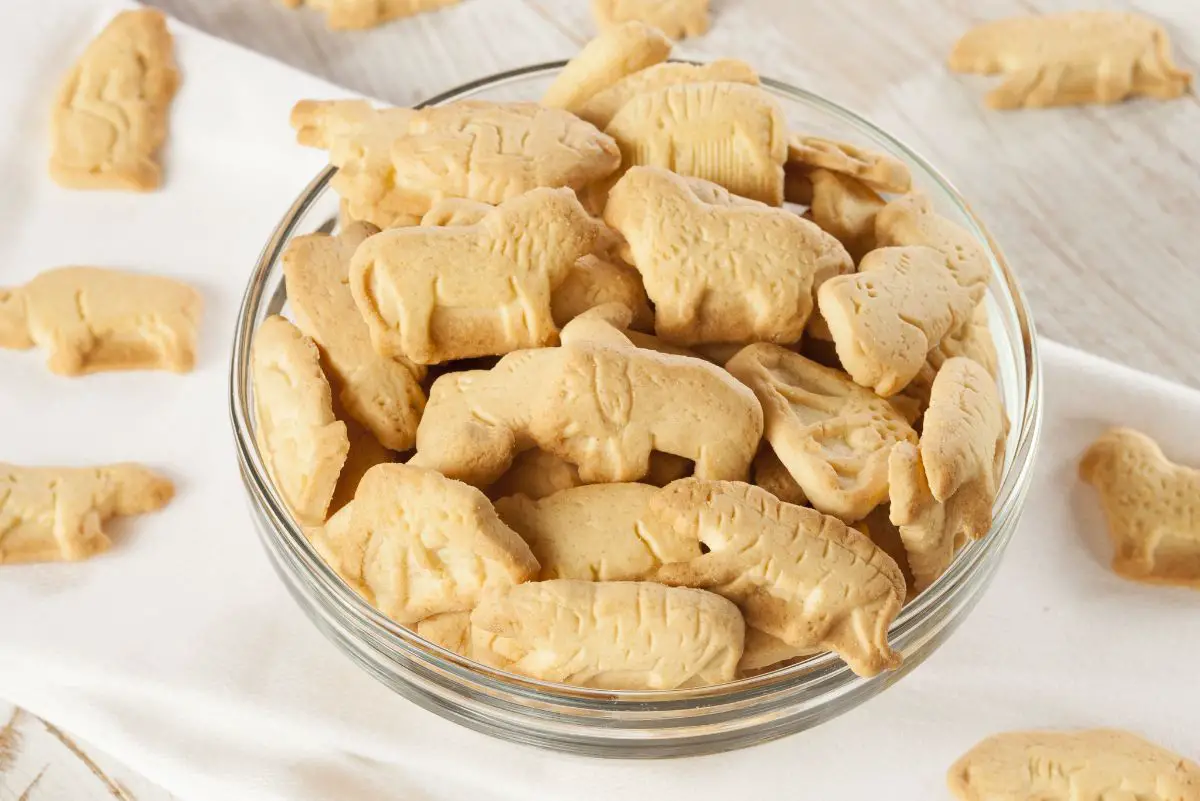
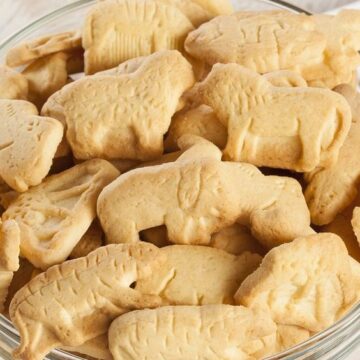
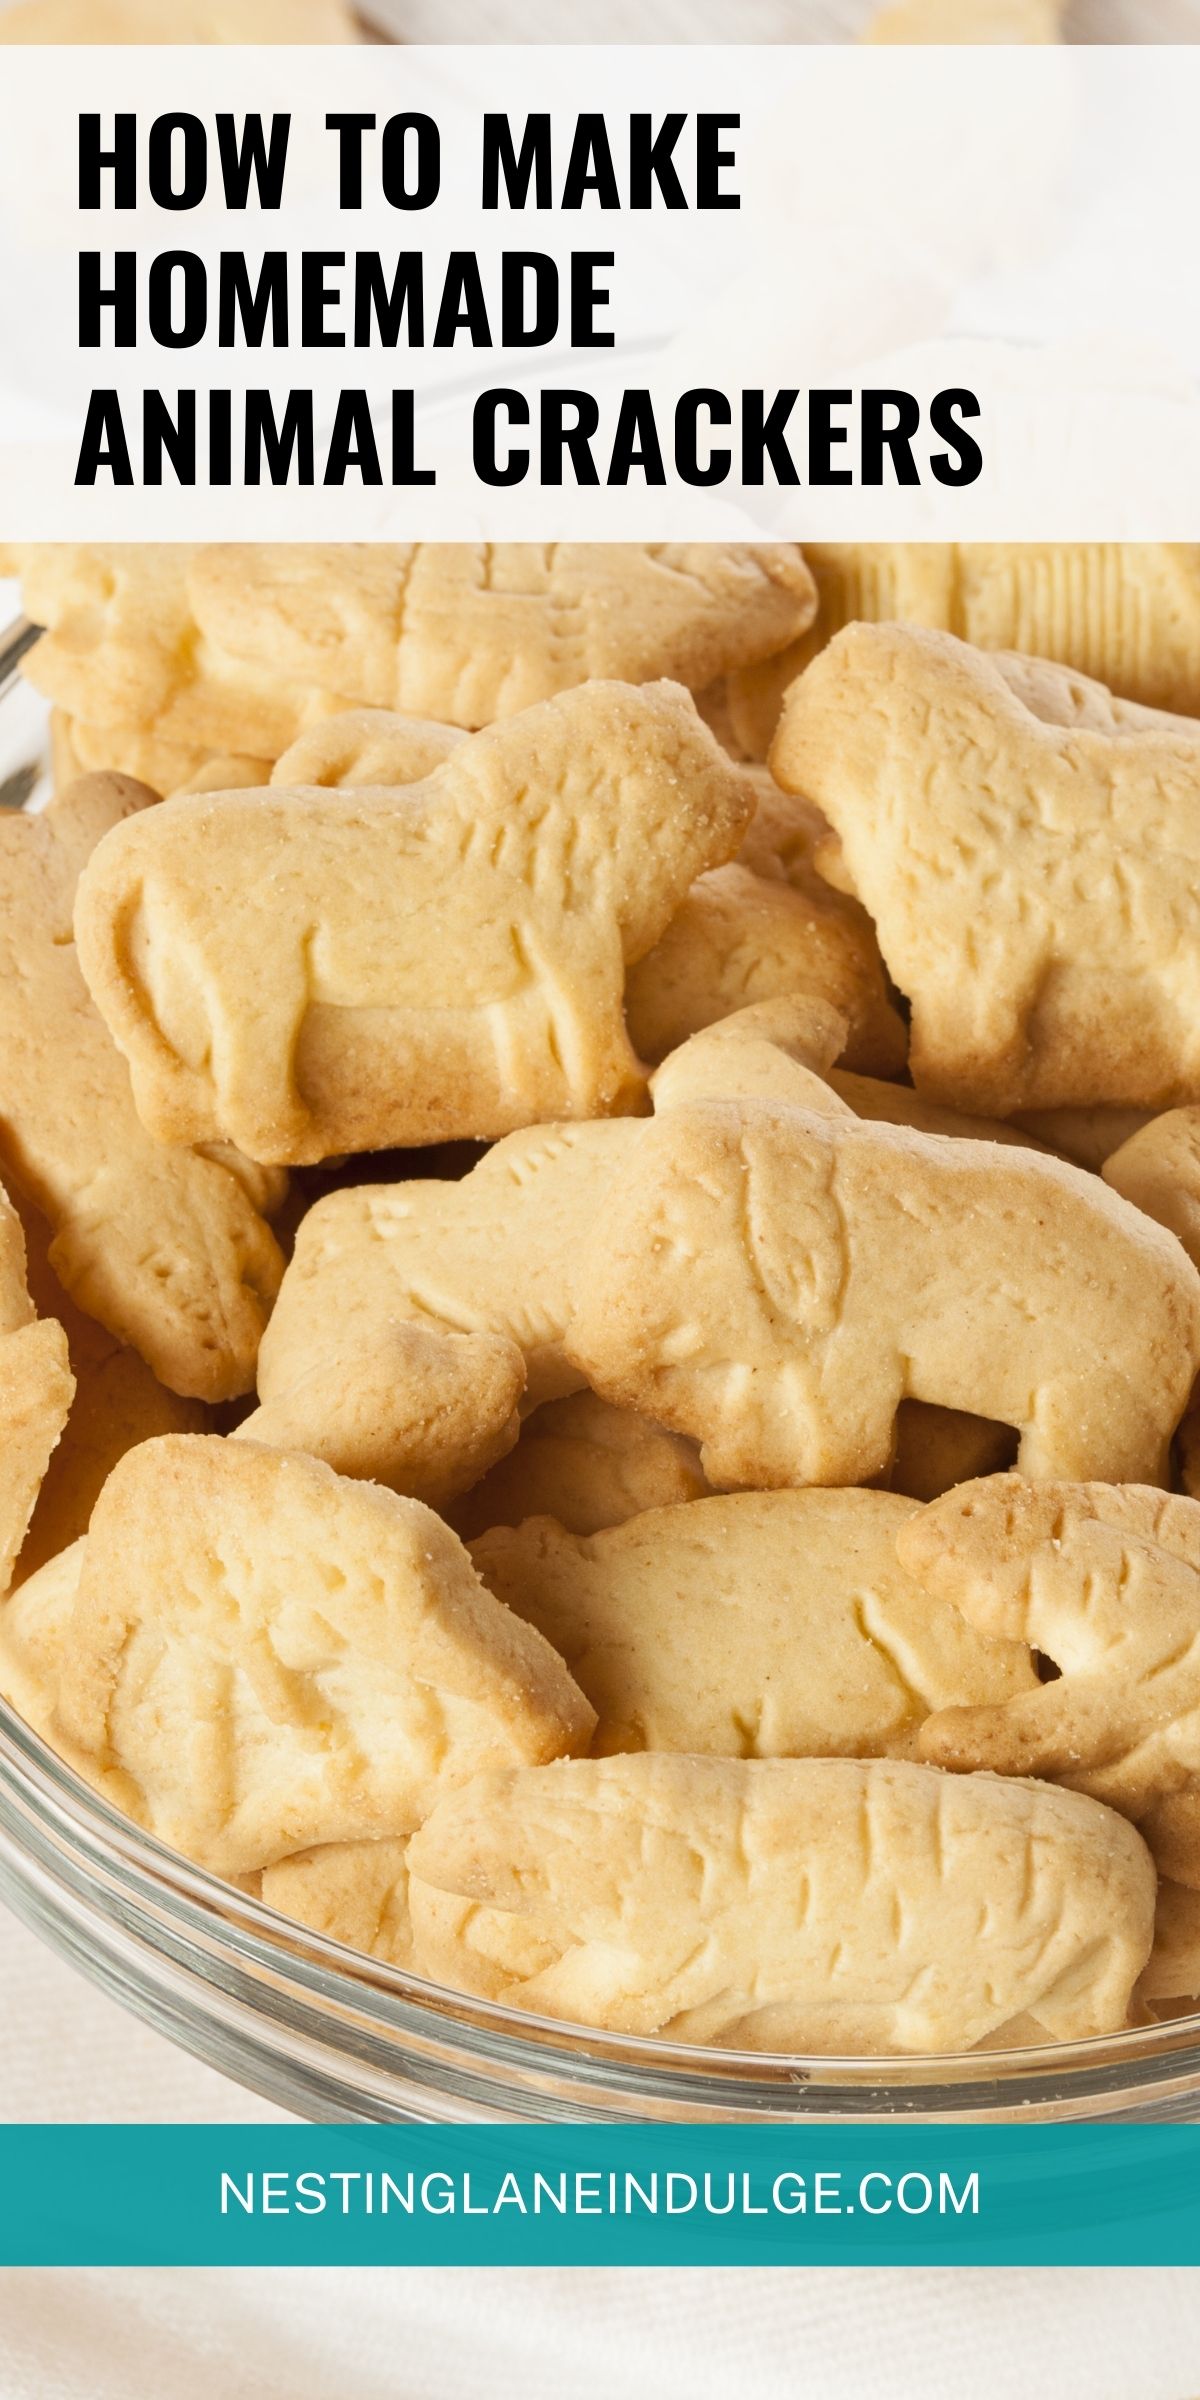
Homemade Animal Crackers are an easy dessert or snack recipe made with rolled oats, flour, salt, baking soda, butter, honey, and buttermilk.
This kid friendly classic is easier than you would expect. If you’re looking for the perfect recipe to make with your little one, then this is it.
These homemade animal crackers are not only easy to make but they taste great!
Kids love animal crackers, but the store-bought version is full of artificial ingredients and preservatives.
With just a few simple pantry staples, you can make your own homemade animal crackers.
These are perfect for moms who want to avoid all those unnecessary additives or for kids with food allergies. They’re also great as an after school snack.
If you’d like some helpful Tips and Tricks, I have them below the recipe.
Related Recipes
Copycat Vanilla Wafers Recipe
Potato Chip Butterscotch Cookies
Easiest Flourless Peanut Butter Cookies
Tips and Tricks
Chill the Dough: If you find the dough too sticky to handle even after blending in the butter and honey, try chilling it in the refrigerator for about 30 minutes. This makes it easier to roll out and handle, especially if you’re baking on a warm day.
Rolling Pin Hack: To get a perfectly even thickness without guesswork, place two wooden dowels or chopsticks on either side of your dough (each should be ⅛ inch thick). When you roll the dough with a rolling pin, the dowels stop the pin from pressing the dough any thinner than the dowels’ height.
Enhance the Flavor: Add a pinch of cinnamon or nutmeg to the dry ingredients for a warm, spiced flavor that pairs beautifully with the honey. If you’re adventurous, a little bit of grated orange zest can add a refreshing twist.
Watch the Oven: Since the baking time is quite short, stay close to the oven and check the cookies around the 4-minute mark. Ovens can vary, and you don’t want your lovely snacks overdone.
Cooling: Let the cookies cool on the pan for a couple of minutes before transferring them to a cooling rack. This allows them to firm up slightly and reduces breaking when they are still warm and fragile.
Storage Tips: To keep the crackers crispy, store them in an airtight container with a piece of bread. The bread helps absorb any excess moisture that might soften the crackers.
Fun with Decorating: After baking, you can decorate these with a simple icing (mix powdered sugar with a bit of milk or lemon juice) piped through a tiny nozzle or even with a new, small paintbrush for detailed designs. This can be a great way to involve kids in the kitchen!
Affiliate Disclosure: Some links provided may be affiliate links where I may earn a commission if you purchase something after clicking on a link. No extra cost is added to you. Also, as an Amazon Associate, I earn from qualifying purchases made through links.
Need to upgrade your kitchen organization? Check out these Pantry Organization Canisters

Do you need Animal Cracker Cookie Cutters? Check out this cute set!

If you need to change the amount of servings the recipe will make, click on the number of servings in the section under the “Print Recipe” bar, and move the slider up or down to change the number of servings you want.
Or to double or triple the recipe, click on the 2x or 3x next to “Ingredients”.
How to Make Homemade Animal Crackers
Equipment
Ingredients
- ½ cup rolled oats
- ¾ cup all-purpose flour
- ¼ tsp salt
- ¼ tsp baking soda
- ¼ cup butter
- 2 tsp honey
- ¼ cup buttermilk
Instructions
- Preheat oven to 400° F
- In a food processor, add rolled oats and grind until a fine consistency.
- In a medium mixing bowl, add processed rolled oats, flour, salt, and baking soda. Stir to mix well
- Using a pastry blender, cut in butter, until the lumps are pea sized.
- Add honey and buttermilk, and stir until well blended and a stiff dough forms.
- Lightly flour a flat surface and turn out dough
- Using a rolling pin, roll out dough to ⅛ inch thick.
- Using mini animal shaped cookie cutters, cut out cookies
- Place the cut out cookies on a cookie sheet approx 1 inch apart.
- In preheated oven, bake 5 – 7 minutes or until the edges are browned lightly.
- Using a spatula, transfer the cookies to a cooling rack.
- Store in an airtight container
Notes
Nutrition
Shop our kitchen essentials and favorite cooking tools in our Amazon Storefront.
You May also Like:
- Upside Down Strawberry Marshmallow Cake
- Rigatoni with Italian Sausage in Tomato Basil Sauce (High Protein Dinner)
- Copycat Starbucks Iced Lemon Pound Cake
- Italian Baked Beef Meatballs
- Tuna Noodle Casserole With Potato Chip Topping
")


