
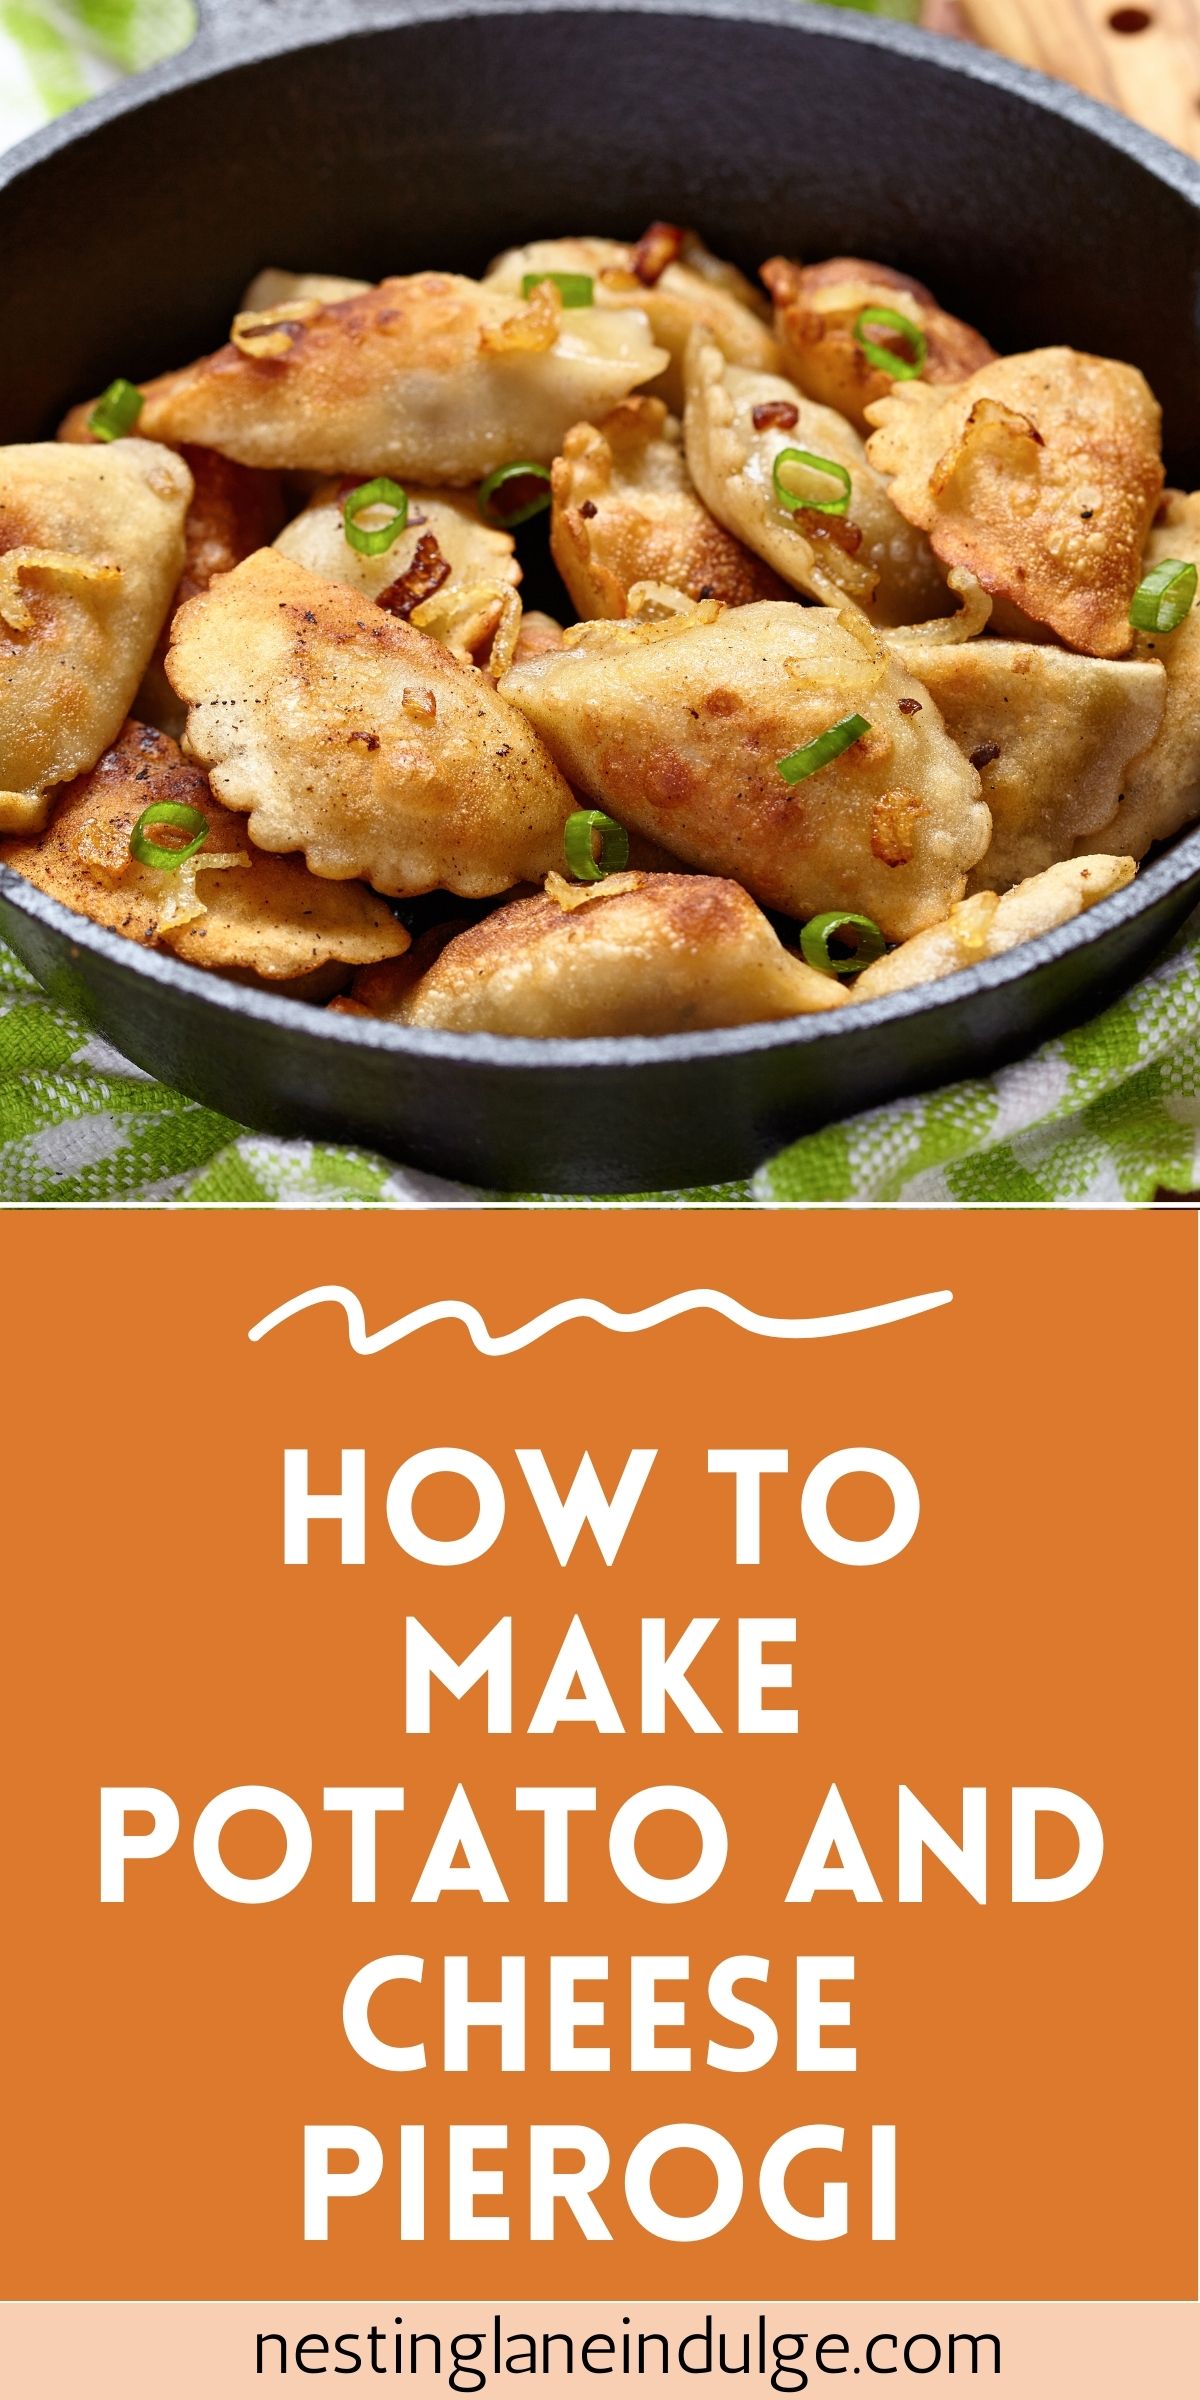
How to Make Potato and Cheese Pierogi Recipe
How to Make Potato and Cheese Pierogi Recipe. This classic dish hails from Eastern Europe and is filled with a rich and savory mashed potato and cheese mixture, wrapped in a tender and satisfying dough.
This recipe is easy to follow and requires common ingredients that you likely already have on hand.
You can customize the recipe to suit your taste preferences, including experimenting with different types of cheese to create a flavor that is uniquely your own.
While making pierogis from scratch may seem daunting at first, we promise that the end result is worth the effort.
Our step-by-step instructions will guide you through the process, ensuring that your pierogis turn out perfectly every time.
Whether you are making pierogis for a special occasion, or simply want to enjoy a delicious homemade meal, our recipe is sure to satisfy. So, why not give it a try and enjoy the comforting and satisfying flavors of this classic dish.
Related Recipes
Easy Twice Baked Potatoes
Quick And Easy Mashed Potato Pancakes
Crunchy Rosemary Potatoes Recipe
Affiliate Disclosure: Some links provided may be affiliate links where I may earn a commission if you purchase something after clicking on a link. No extra cost is added to you. Also, as an Amazon Associate, I earn from qualifying purchases made through links.
Need to upgrade your kitchen organization? Check out these Pantry Organization Canisters


If you need to change the amount of servings the recipe will make, click on the number of servings in the section under the “Print Recipe” bar, and move the slider up or down to change the number of servings you want.
Or to double or triple the recipe, click on the 2x or 3x next to “Ingredients”.

Potato and Cheese Pierogi
Equipment
Ingredients
- 4½ cups all-purpose flour
- 2 tsp salt
- 2 tbsp butter melted
- 2 cups sour cream
- 1 egg yolk
- 2 tbsp vegetable oil
- 8 baking potatoes peeled and cubed
- 1 cup shredded Cheddar cheese
- 2 tbsp processed cheese sauce
- onion salt to taste
- salt to taste
- ground black pepper to taste
Instructions
- In a large bowl, mix the flour and salt.
- In a separate bowl, whisk together the butter, sour cream, eggs, egg yolk, and oil.
- Pour the wet ingredients into the bowl with the flour and stir until well combined.
- Cover the bowl with a towel and let it rest for 15 to 20 minutes.
- Peel and dice the potatoes, then put them in a pot and add enough water to cover them.
- Bring the water to a boil and cook the potatoes until they're tender (about 15 minutes).
- Drain the water and mash the potatoes with the shredded cheese and cheese sauce while they're still hot.
- Add onion salt, salt, and pepper to taste, and let the mixture cool.
- Separate the perogie dough into two balls and roll out each ball on a lightly floured surface until it's thin enough to work with.
- Cut the dough into circles using a cookie cutter, perogie cutter, or a glass
- Brush a little water around the edges of each circle and spoon some filling into the center
- Fold the circles over into half-circles and press the edges to seal them
- Place the perogies on a cookie sheet and freeze them
- Once frozen, transfer the perogies to freezer storage bags or containers.
- When you're ready to cook the perogies, bring a large pot of lightly salted water to a boil
- Drop the perogies into the boiling water one at a time
- When they float to the top, they're done. Don't boil them for too long or they'll become soggy.
- Use a slotted spoon to remove the perogies from the pot
Notes
Nutrition
FAQs
Yes, you can freeze them for up to 3 months. Just make sure to place them in a single layer on a baking sheet to freeze first, then transfer to an airtight container.
If the pierogis are frozen before boiling, they are less likely to burst. Make sure not to overfill them and press the edges together firmly to seal.
Boil them in salted water for 2-3 minutes or until they float to the surface. Alternatively, you can pan-fry them with butter until they are heated through and golden brown.
Yes, a pierogi press can make the process quicker and more efficient. Just make sure to follow the instructions for your specific press.
You May also Like:
- Upside Down Strawberry Marshmallow Cake
- Rigatoni with Italian Sausage in Tomato Basil Sauce (High Protein Dinner)
- Copycat Starbucks Iced Lemon Pound Cake
- Italian Baked Beef Meatballs
- Tuna Noodle Casserole With Potato Chip Topping
")
